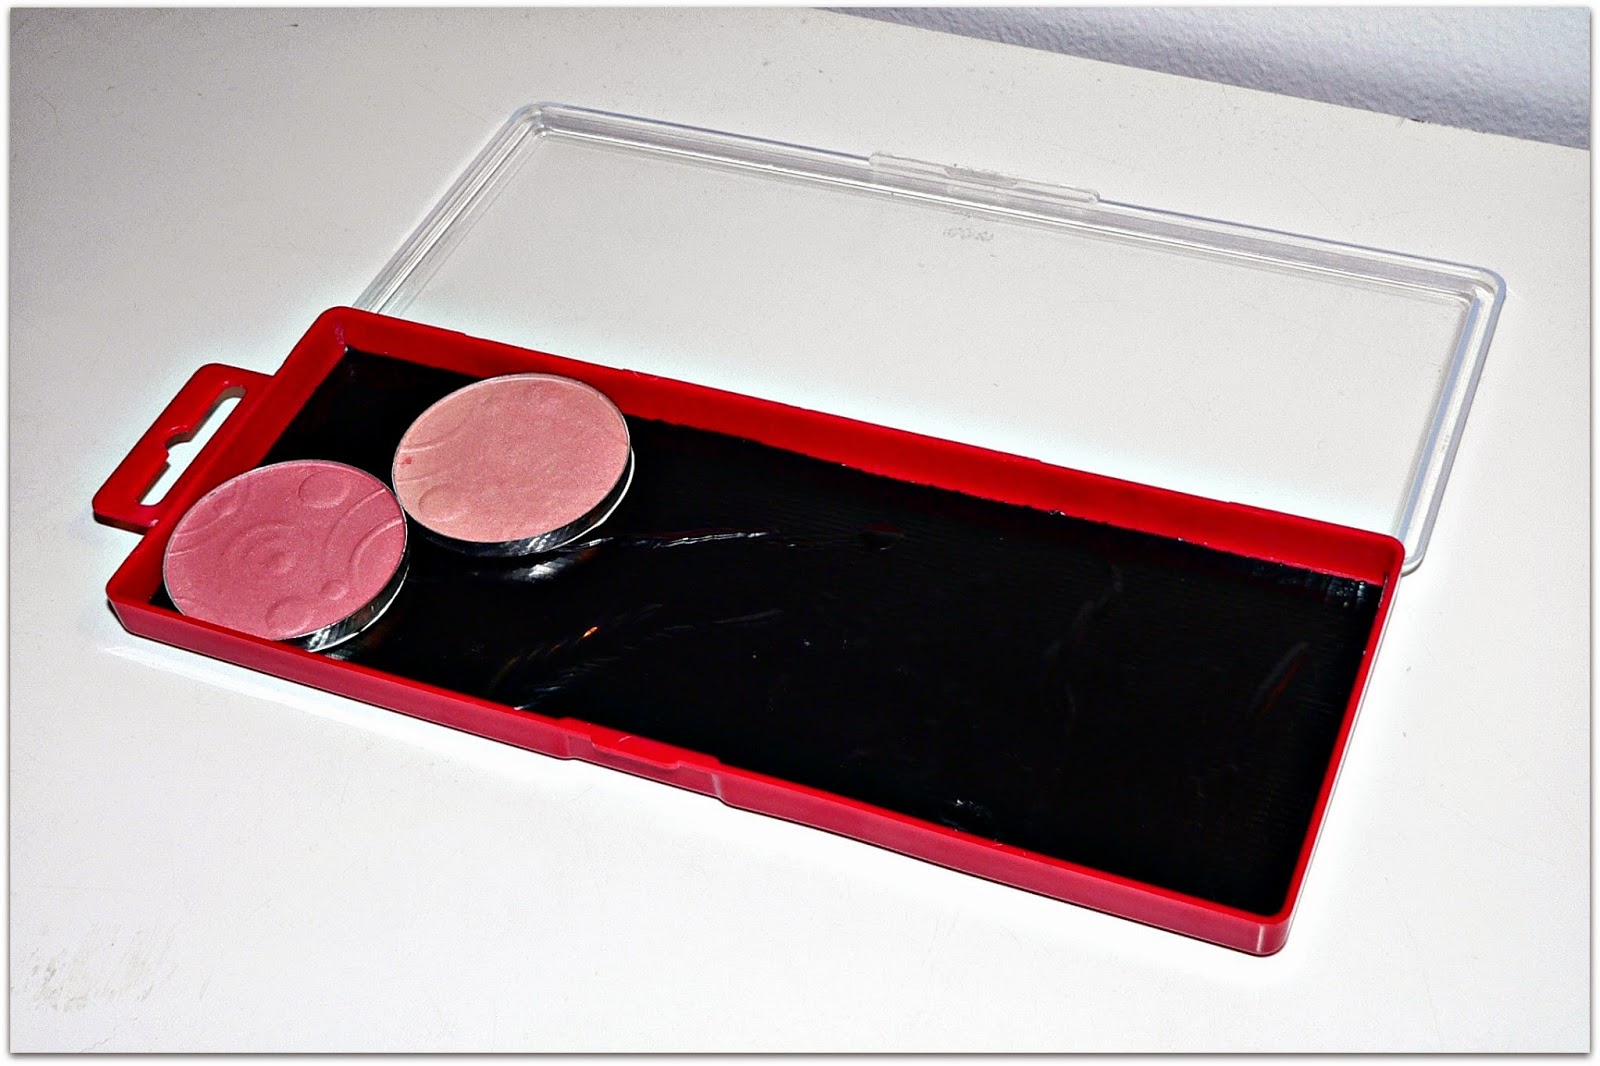
DIY Z Palette
After my Essence Blush Compacts broke, I decided I needed to put them in a palette. However, I did not want to spend $20 for a single palette. I found a great DIY Z Palette tutorial on Youtube (DIY Magnetic Makeup Palette (Z Palette Inspired) !). This tutorial uses a watercolor paint set, I'd seen a lot of people use DVD cases but I didn't care for the look of them.
So all you need for this DIY Z Palette is....
- A watercolor paint set (I suggest using the 16 Color Rose Art set because they have less plastic to remove and its large enough to hold blushes and powders, mine retailed for $2.79 at KMart)
- A magnetic adhesive strip (these can be found a most craft stores, mine retailed for $2.79 at Michaels)
- A box cutter (for cutting down the magnetic strip and removing the excess plastic)
- (OPTIONAL) Duct Tape (to cover the magnetic strip)
Let's Get Started!!
STEP 1: Remove the paints from inside of the water color set.
STEP 2: Use your box cutter and cut the extra plastic piece at the end off. Cut away from your body.
STEP 3: Now the that the set is empty, measure out the magnetic stripe so that it fits perfectly inside the bottom of the palette.
STEP 4: Cut the magnetic stripe with the box cutter to fit the palette. (Now is also the time if you want to cover it with Duct Tape, use the same steps to trace and cover the magnet).
STEP 5: Remove the paper from the sticky side of the magnetic strip and place inside the palette.
And Your DIY Z Palette Is Done!!
You can place any metal makeup pan inside this, with the exception of taller mineralized or baked products.
Let me know in the comments if you've tried this DIY or if you've tried your own DIY Palettes!


Comments